
How to make 3D medical animations: step-by-step process explained
Share:
Copy link
Share via Telegram
Share on Facebook
Share on LinkedIn
Share via WhatsApp
Share on X
Share via Email
3D medical animations combine science, art, and technology to turn complex medical concepts into easy-to-understand visual content. But behind every flawless animation stands a multi-stage process that demands accuracy, artistic skill, and cutting-edge 3D techniques.
At VOKA, we apply this detailed production workflow every day to create custom animations for pharma, healthcare, and medtech teams. In this guide, we’ll take you behind the scenes and walk you through the key steps of our 3D medical animation process, from the first brief to the final frame.
If you’re new to 3D medical animation production, this guide will help you identify the key steps, set realistic expectations, and collaborate effectively with your animation partner.
What is 3D medical animation?
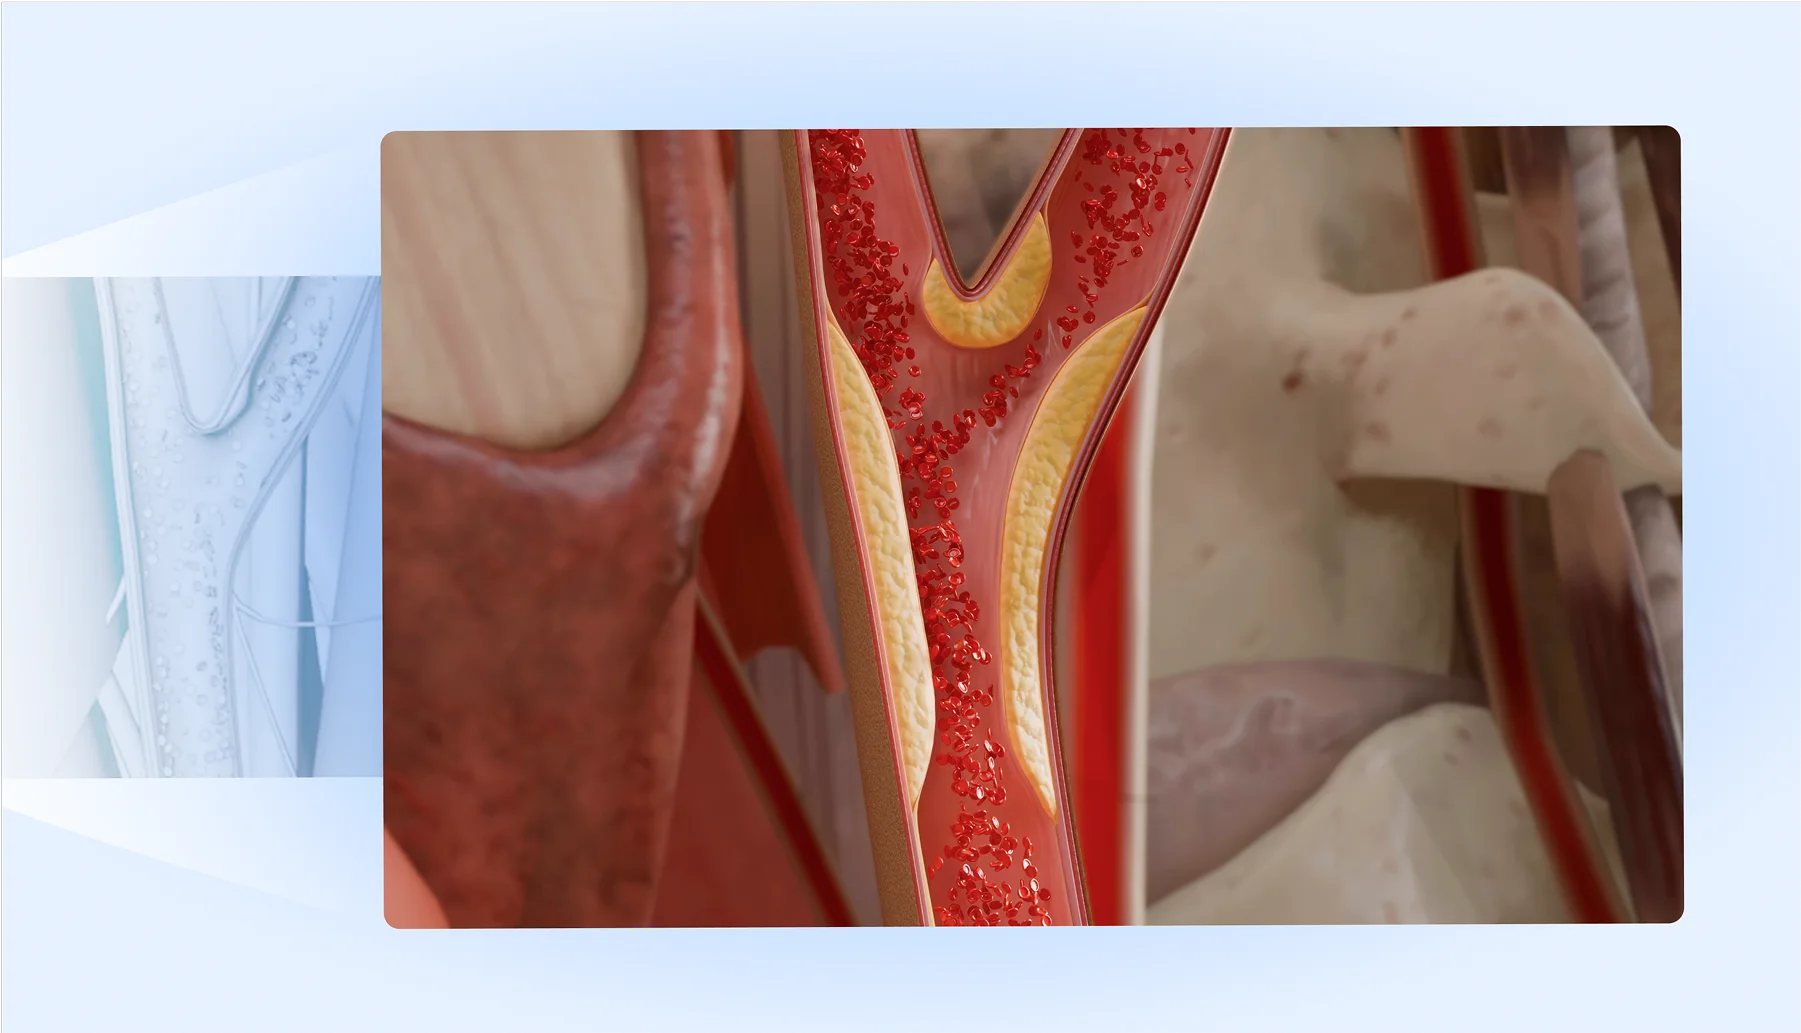
Medical animation is a type of 3D video that shows complex medical processes through dynamic, high-quality visuals. It’s a powerful tool to showcase biological processes, medical procedures, pharmaceutical mechanisms of action, and anatomical structures.

The main reason why use medical animation — it helps viewers better understand medical concepts. Here are the most common applications of 3D medical animation:
-
Medical education & training — Helping students, doctors, and medical professionals better study anatomy, pathologies, and treatments through interactive visuals.
-
Patient education — Making it easier for healthcare professionals to explain diagnoses, treatment options, and surgical procedures to patients.
-
Pharmaceutical & biotech marketing — Demonstrating how new drugs, medical devices, or therapies work, making scientific concepts comprehensible to investors and consumers.
Creating a 3D medical video: the key steps
Crafting a high-quality 3D medical animation requires a structured approach. Here’s what the process looks like and what you can expect at each stage:
Creative brief
Every great 3D medical animation starts with a well-defined concept and a creative brief to keep things moving. Think of it as the blueprint that keeps everyone on the same page and ensures the final animation meets both scientific accuracy and visual storytelling goals.
At this stage, we bring together all the key players:
-
Our client — to provide valuable input, vision, and goals.
-
Medical experts — to make sure everything is anatomically and scientifically correct.
-
3D artists — to plan the visual style for building realistic models.
-
3D animators — to strategize movement, transitions, and storytelling.
-
Marketing team — to align the animation with the audience’s needs and expectations.
Client value: Early planning gives you control over the outcome as you share the vision, explain your goals, and set expectations for timing and outcomes before production begins.
Scriptwriting
A good script presents medical concepts accurately and easily. At this stage, VOKA’s in-house medical experts, animators, and scriptwriters work together to build a clear and engaging story.
The process begins with gathering references and expert insights. Medical professionals provide scientific materials and real-world examples to ensure accuracy. Based on these references, we create an initial draft script, outlining the storyline, key visual elements, and transitions. The tone and terminology are tailored to the target audience.
Once the draft is ready, the team reviews it and makes necessary adjustments to improve clarity, pacing, and accuracy. If needed, the script is also translated into multiple languages to reach a broader audience.
Client value: A clear, well-structured script helps you deliver your key message faster, improve comprehension, and avoid misinterpretation.
Anatomical research
Anatomical research lays the groundwork for accuracy and realism. Medical animation isn’t just about creating visually appealing graphics – every detail should match real-world anatomy, physiology, and medical procedures.
To build a solid foundation, our 3D artists and animators work closely with medical experts who provide detailed reference materials, including:
-
Medical illustrations and textbooks — Offering foundational knowledge on anatomical structures.
-
High-resolution imaging (MRI, CT scans, ultrasounds) — Helping to visualize internal body structures with precision.
-
Surgical videos and case studies — Providing real-world insights into medical procedures and techniques.
-
Microscopic and molecular references — Used for animations that explore cellular and biochemical processes.
Client value: This research guarantees your animation is accurate and trustworthy, giving you confidence that your content communicates medical concepts correctly.
Storyboarding
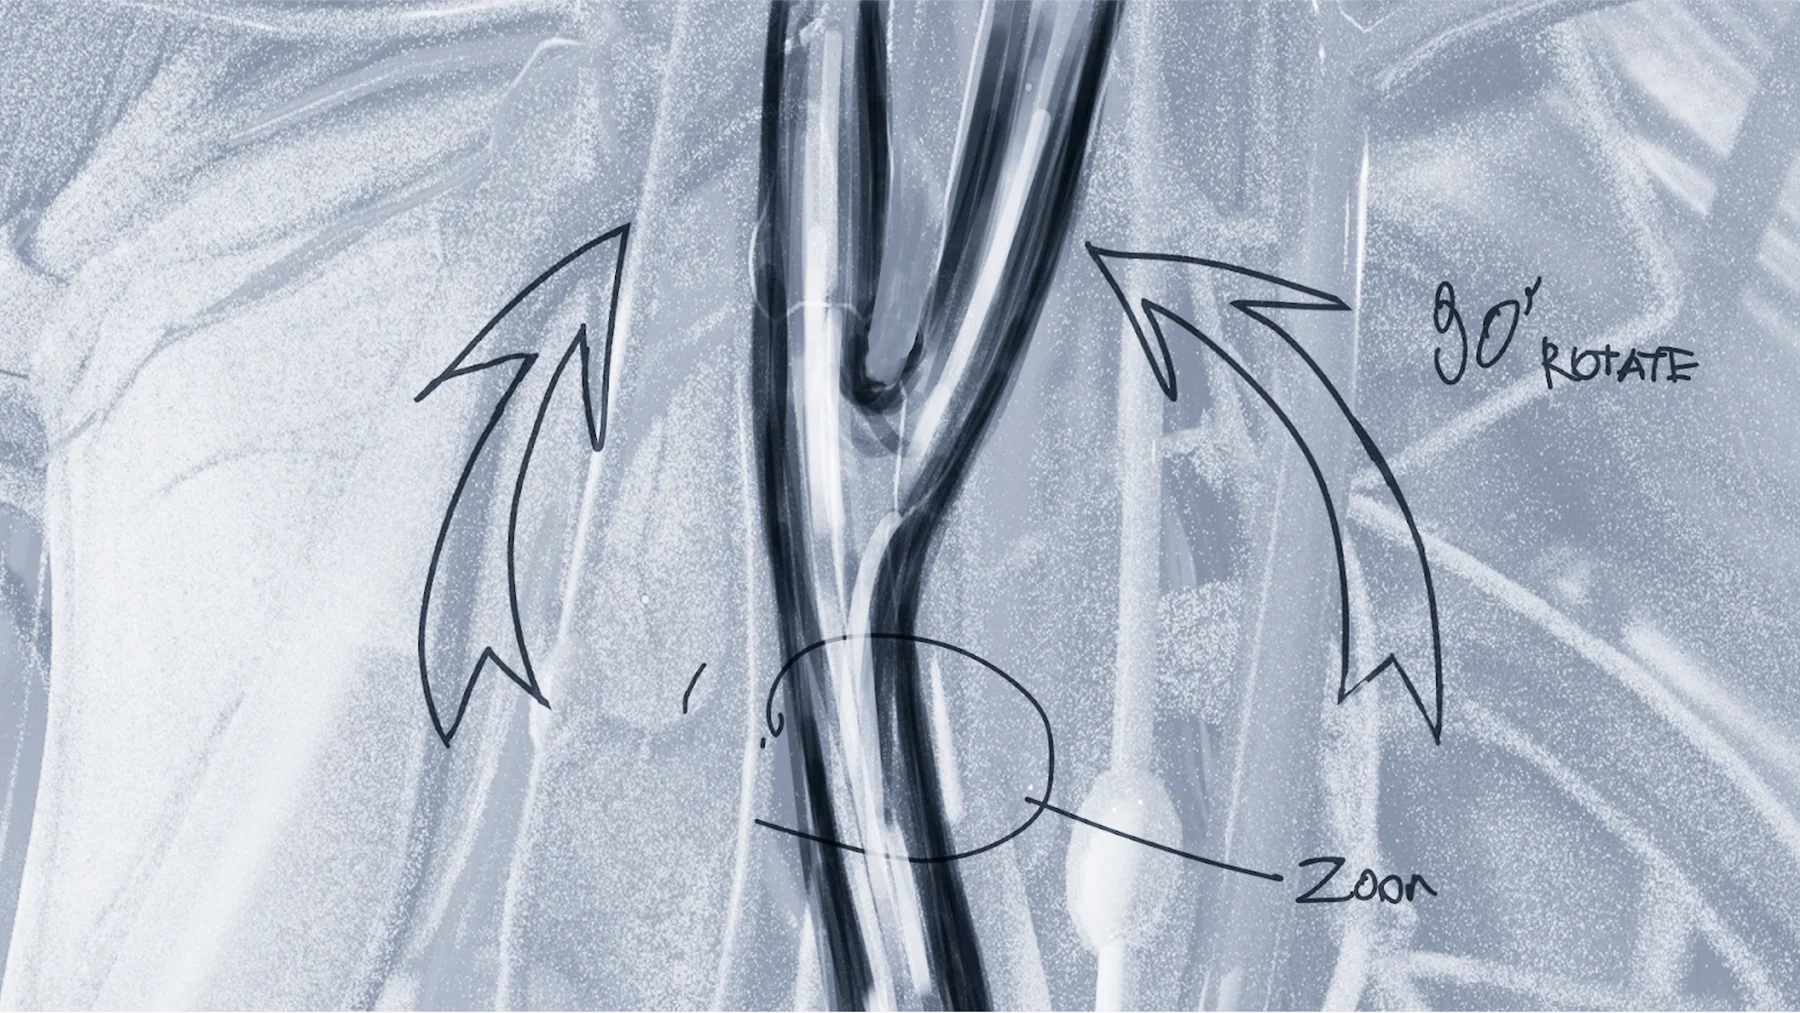
Before jumping into full animation, a detailed storyboard maps out every scene and sequence. The storyboard acts as a frame-by-frame guide, helping the team visualize:
-
The sequence of events — What happens in each scene, from start to finish.
-
Camera angles and movement — Close-ups, wide shots, transitions.
-
Timing and pacing — How long each scene lasts and how they flow into each other.
-
Key visual elements — Placement of anatomical structures, surgical tools, or medical devices.
Client value: A well-planned storyboard gives you a clear preview of your animation and helps avoid costly changes later.
3D modeling & texturing
After the research phase, it’s time for highly detailed 3D models. Using Blender and other 3D modeling software, our artists create 3D anatomical models of organs, tissues, and physiological systems. The accuracy of these models is key to making the final animation scientifically reliable.
Then, the models go through several rounds of review involving medical experts, animators, and 3D artists. This stage helps to:
-
Identify any anatomical inaccuracies.
-
Adjust proportions, details, and textures as needed.
-
Ensure the models meet artistic standards.
Client value: Precise modeling reduces the need for later adjustments, saving time, effort, and budget during animation and post-production.
“Most costly fixes happen when modeling details are overlooked. Even when models are validated by our medical experts, client input still matters. When feedback comes early, it saves weeks of rework and helps to avoid extra costs down the line.” — Avdeev V., Art Lead
Animation: movement & dynamics
In the animation phase, static 3D models gain movement, interaction, and fluidity, making medical processes feel authentic and engaging.
Animatic
Before diving into full animation, an animatic is created. This is a rough, animated version of the storyboard that gives a first glimpse of how the final animation will look. It helps define the composition, camera angles and movement, timing and pacing.
Shading
Shading is what makes 3D objects look realistic by defining how they react to light and textures. It adds depth, surface details, and material properties. For this, we apply high-resolution textures and materials to simulate the natural look of skin, muscles, tissues, bones, and cartilage.
The shading process includes:
-
Shader setup — Assigning material properties like transparency, glossiness, or roughness.
-
Lighting adjustments — Ensuring proper highlights and shadows for a natural look.
-
Scene review — Checking for inconsistencies in materials and lighting.
Once shading is reviewed and finalized, the animation moves into the full-motion stage.
3D animation
With the animatic and shading approved, it’s time to animate. This step controls every movement to ensure natural motion and realistic interactions. The VOKA team uses different animation techniques in the scene:
-
Shape keys — For smooth morphing of facial expressions, muscle contractions, or soft tissue movements.
-
Rigging & skinning — Creating a bone system that allows for accurate joint movement.
-
Procedural animation — Using geometry nodes and volume modifiers for automated, physics-based movements.
-
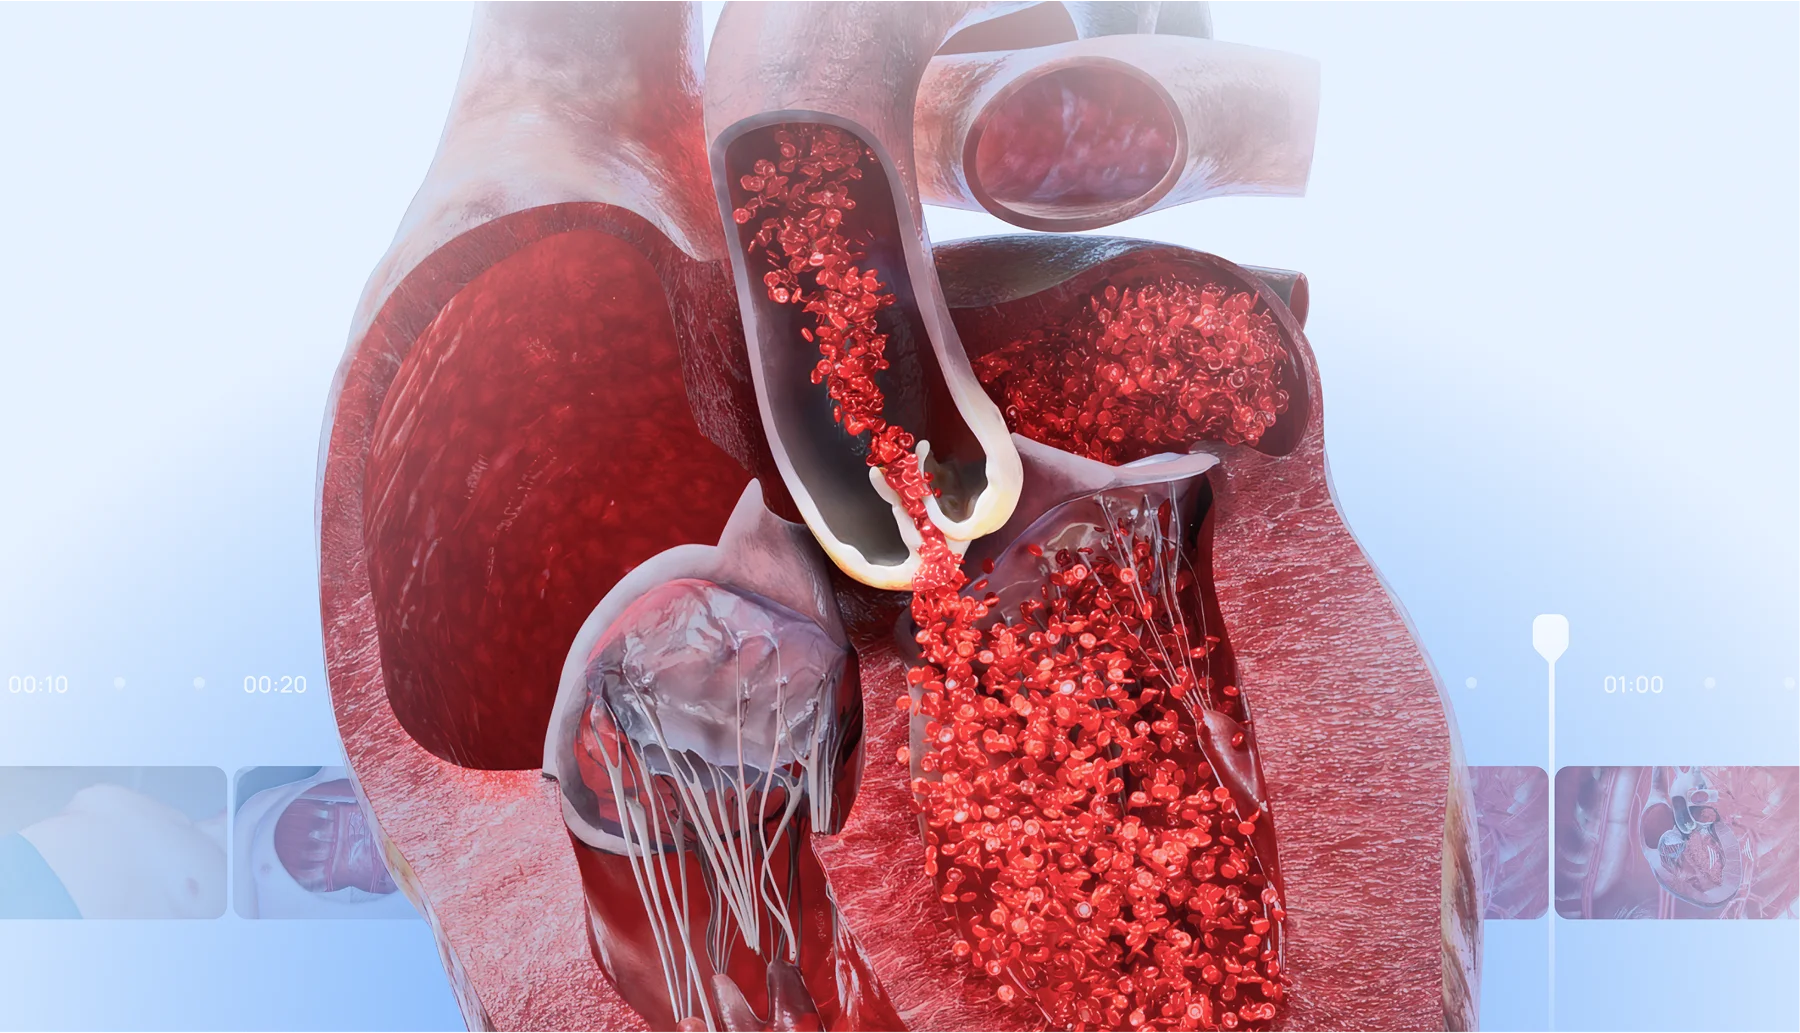
Fluid and particle animation — Simulating blood flow, cell interactions, or other biological processes.
-
Material animation — Adjusting textures dynamically, such as skin tone changes or muscle contractions.
-
Camera animation — Setting up dynamic camera movements to guide the viewer's focus.
Once the animation is done, the team reviews and fine-tunes every detail to keep movements smooth, visuals accurate, and timing in sync with the narration. Finally, the animation is checked for marketing to make sure it meets all project goals.
Client value: Realistic, polished animation makes your content look trustworthy and professional, reinforcing your authority.
Rendering
Rendering is where raw 3D scenes are transformed into polished, high-quality video frames. This process combines geometry, textures, lighting, shading, and motion to produce a smooth and visually accurate final animation.
Client value: Professional rendering delivers crisp, realistic visuals that make your animation look polished.
Adding captions
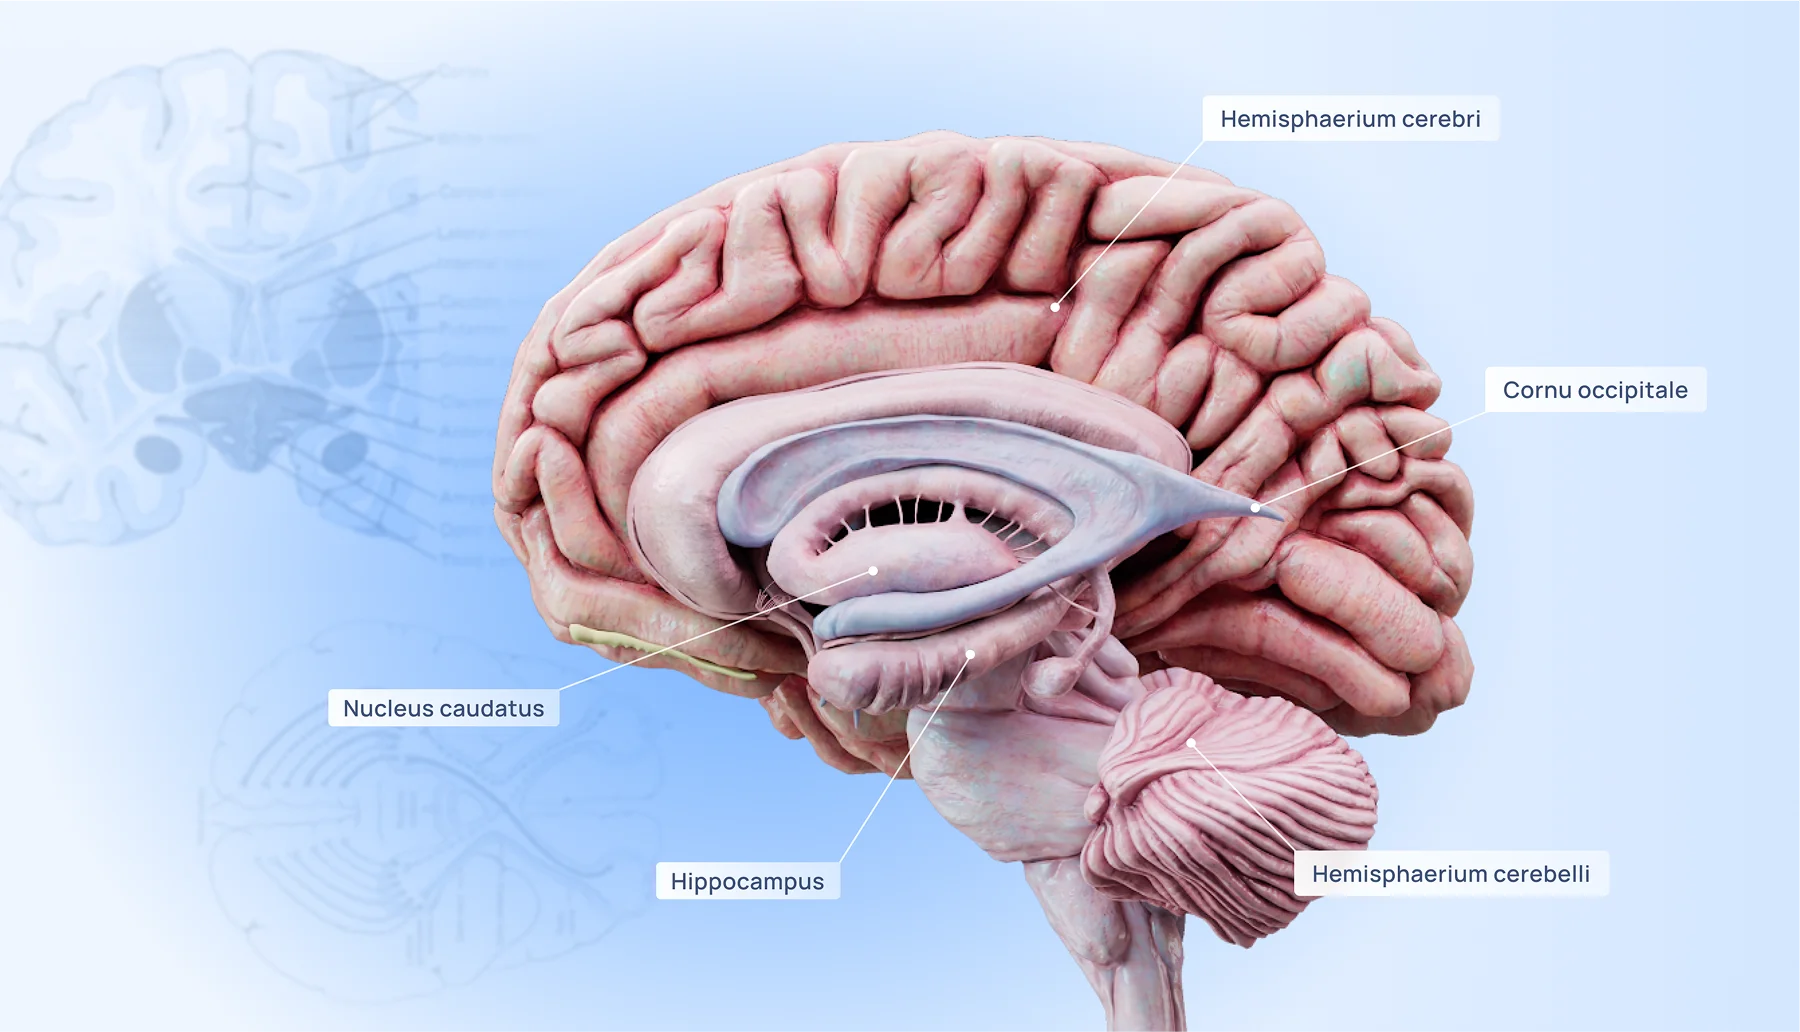
Captions enhance comprehension, especially for educational and medical training videos. Whether it’s labeling anatomical structures or explaining processes, well-placed text ensures that viewers can easily follow along. The process includes:
-
Preparing and approving the text — Ensuring accuracy and consistency with the script.
-
Designing the visuals — Choosing fonts, styles, and placements that complement the animation without overwhelming the visuals.
-
Integrating mini-animations — Adding subtle movements to captions to make them more dynamic and engaging.
Client value: Non-intrusive and easy-to-read captions help you present your idea more effectively and enhance the overall impact of your message.
Color correction
Color correction is the final touch that refines the overall look and feel of the animation. It ensures that colors are realistic and visually appealing, which enhances the clarity and impact of the visuals. Key adjustments we make:
-
Balancing contrast and brightness — Ensuring that important details stand out.
-
Refining color tones — Making sure tissues, organs, and biological elements look natural.
-
Applying subtle effects — Enhancing depth, focus, and lighting for a professional finish.
Client value: Color correction highlights key details so you can guide the viewer’s attention to the most important aspects of your animation.
Voiceover
We create a voiceover that supports the animation without overwhelming it. The narration is carefully synced with the visuals, ensuring that timing matches the animation and medical terms are pronounced clearly.
To boost engagement, the VOKA team can add subtle background music and sound effects, and subtitles if needed, to keep the spoken content accessible and consistent.
Client value: Voiceover adds clarity and supports visuals, helping your audience follow the story effortlessly.
Post-production
In post-production, we bring everything together to create the final, polished version of your medical animation.
Using professional editing software like DaVinci Resolve, the VOKA team fine-tunes visuals, syncs audio, adjusts pacing and smooth transitions between scenes. Any final touches, such as minor color corrections or subtle effects, are applied to enhance the overall look and feel.
Client value: You can guide the final touches, making sure your animation looks polished and creates the impact you want.
Final touches
After post-production, the animation undergoes a final round of refinements to ensure it’s polished, accessible, and ready for distribution.
Collecting feedback
Before finalizing the animation, an initial version is shared with medical experts, stakeholders, or clients for review. Their feedback helps to improve clarity, enhance scientific accuracy, or make minor adjustments in pacing or visuals. This step ensures the animation meets technical and audience expectations before release.
Localization & adaptation
To make the animation accessible to a wider audience, it is adapted for different formats, languages, and platforms. This includes reformatting it to a vertical aspect ratio to suit platforms like Instagram, TikTok, and other mobile apps. The video may also be segmented into shorter clips for presentations, social media, or interactive learning. Scripts and captions are translated into multiple languages to ensure global accessibility and platform-specific branding.
Creating marketing materials
The team prepares promotional materials tailored for different platforms to maximize the animation's reach and impact. This includes designing custom social media covers and other visual assets that align with branding and help attract the right audience. These materials ensure the animation is presented professionally and effectively, whether it’s for educational content, medical conferences, or marketing campaigns.
Publication
Once all adjustments are complete, the animation is exported in the required format for its final destination, whether published on medical websites, e-learning platforms, conferences, or social media.
Wrapping up
At VOKA, we don’t just create visually impressive 3D medical animations — we transform complex medical concepts into clear, engaging, and accurate visual stories. Our medical animation process is built on thorough research and expert guidance, ensuring that every animation is made to ensure accuracy, realism, and storytelling that resonates.
If you’re looking for a solid team to transform your idea into a compelling 3D medical animation, we’d love to help. Reach out to the VOKA team today to create something that informs, inspires, and makes a difference.
FAQ
1. How to make medical animation videos?
Creating a medical animation video involves multiple stages: research, scriptwriting, storyboarding, 3D modeling, animation, shading, rendering, and post-production. Understanding how to make animated medical videos ensures your final content is accurate, engaging, and visually compelling.
2. What makes a medical animation effective?
An effective medical animation combines scientific accuracy, clear storytelling, and engaging visuals. Proper pacing, realistic 3D modeling, interactive elements, and well-synced voiceover or captions all contribute. Knowing how to do medical animation properly ensures that the content is both informative and easy to understand.
3. How can animated medical videos improve patient understanding?
Animated medical videos simplify complex concepts, visually demonstrating procedures, disease mechanisms, and treatments. By showing information step-by-step, patients grasp details faster, feel more confident, and are more likely to follow medical advice.
4. How to make science animations for marketing or education?
The process involves combining accurate scientific data with creative visual storytelling. Animations can explain mechanisms of action, highlight medical devices, or illustrate research findings in an engaging, memorable way. Collaboration with medical experts and careful storyboarding are crucial for success.
Share
Thank you for your comment!
Your comment has been submitted for moderation and will be published soon. We'll email you once it’s live.